
Deploying Kafka on Kubernetes with Strimzi
2024-04-02
Deploying Kafka on Kubernetes with Strimzi
In this article, we'll walk through deploying an Apache Kafka cluster on a local Kubernetes cluster using Kind (Kubernetes in Docker). We'll use the Strimzi operator for Kafka, which simplifies the deployment and management of Kafka on Kubernetes. We'll also touch on how you could incorporate Terraform to manage some of the setup or perform upgrades.
Prerequisites
- Docker Desktop installed
- Kind installed
- kubectl installed
1. Create a Local Kubernetes Cluster with Kind
First, create a Kind cluster. For a simple default cluster:
kind create cluster --name kafka-demo
Verify your cluster:
kubectl cluster-info --context kind-kafka-demo
2. Install the Strimzi Operator
2.1 Using kubectl Strimzi provides YAML manifests you can apply directly:
# Download the Strimzi installation YAML curl -L "https://github.com/strimzi/strimzi-kafka-operator/releases/download/0.34.0/strimzi-cluster-operator-0.34.0.yaml" -o strimzi.yaml
Apply to your cluster
kubectl create namespace kafka kubectl apply -f strimzi.yaml -n kafka
2.2 Using Helm (Optional)
helm repo add strimzi https://strimzi.io/charts/ helm repo update helm install strimzi-kafka-operator strimzi/strimzi-kafka-operator --namespace kafka --create-namespace
1. Deploy a Kafka Cluster
Create a kafka-cluster.yaml file:
apiVersion: kafka.strimzi.io/v1beta2
kind: Kafka
metadata:
name: my-kafka-cluster
namespace: kafka
spec:
kafka:
replicas: 3
listeners:
- name: plain
port: 9092
type: internal
tls: false
storage:
type: ephemeral
zookeeper:
replicas: 3
storage:
type: ephemeral
entityOperator:
topicOperator: {}
userOperator: {}
kubectl apply -f kafka-cluster.yaml -n kafka
Strimzi will spin up your Kafka brokers and Zookeeper pods.
1. Verifying Kafka
Once the operator has created the Kafka cluster, check your pods:
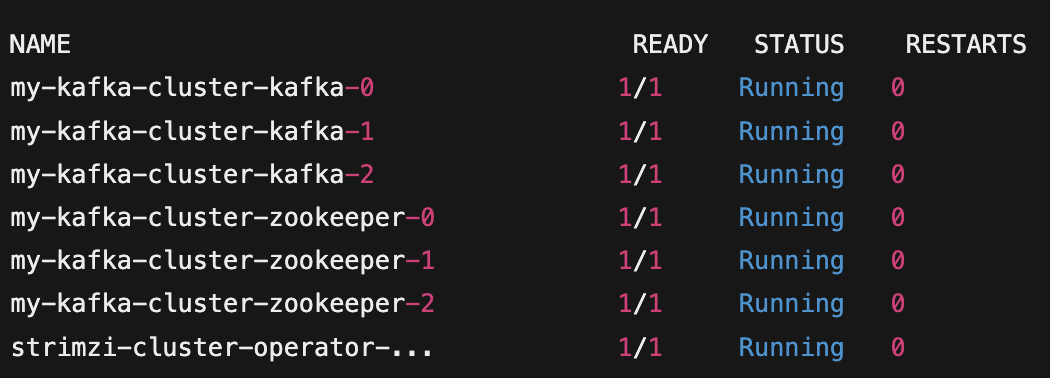
kubectl get pods -n kafka You should see: ```bash READY STATUS RESTARTS AGE my-kafka-cluster-kafka-0 1/1 Running 0 2m my-kafka-cluster-kafka-1 1/1 Running 0 2m my-kafka-cluster-kafka-2 1/1 Running 0 2m my-kafka-cluster-zookeeper-0 1/1 Running 0 2m my-kafka-cluster-zookeeper-1 1/1 Running 0 2m my-kafka-cluster-zookeeper-2 1/1 Running 0 2m strimzi-cluster-operator-... 1/1 Running 0 3m
6. Testing Kafka
You can create a Kafka topic and produce/consume messages:
# Create a topic kubectl exec -it my-kafka-cluster-kafka-0 -n kafka -- \ bin/kafka-topics.sh --create --topic test-topic --partitions 1 --replication-factor 1 --bootstrap-server my-kafka-cluster-kafka-bootstrap:9092 # Produce messages kubectl exec -it my-kafka-cluster-kafka-0 -n kafka -- \ bin/kafka-console-producer.sh --topic test-topic --bootstrap-server my-kafka-cluster-kafka-bootstrap:9092 # Consume messages kubectl exec -it my-kafka-cluster-kafka-1 -n kafka -- \ bin/kafka-console-consumer.sh --topic test-topic --from-beginning --bootstrap-server my-kafka-cluster-kafka-bootstrap:9092 Type a few messages in the producer terminal, and they should appear in the consumer terminal.
7. Clean Up
When you’re done, remove the cluster:
kind delete cluster --name kafka-demo
Conclusion
With this setup, you have a quick local environment for developing or testing Kafka. The Strimzi operator abstracts away the complexity of Kafka management on Kubernetes. If you want to scale to a production environment, you’ll switch from ephemeral storage to persistent volumes, integrate with your cloud platform, and further tune your Terraform and Strimzi configs.